Designing Modern A4 Brochures, Covers, and Posters: A Practical Process Guide
Creating a modern, impactful printed piece like a brochure, flyer, or poster is a core task for professionals across many fields. Whether you’re a marketer launching a campaign, a small business owner promoting a service, or a designer executing a client project, the process requires a blend of creative vision and systematic execution. This guide focuses on a practical, workflow-oriented approach to designing key elements like the folded brochure and cover layout, ensuring your final product is both aesthetically compelling and functionally effective.
Understanding Your Design Within the Broader Project Workflow
Brochure design rarely exists as a standalone task. It is typically a component within a larger marketing initiative, brand launch, or educational project. Before you even open your design software, consider where this piece fits. Is it the primary handout for a trade show? A leave-behind after a client meeting? A promotional poster for an event? Defining this role early influences every subsequent decision, from the budget for printing to the hierarchy of information. Integrating this design phase smoothly requires upfront preparation: gathering all copy, approved logos, brand color palettes, and image assets. This organizational step prevents mid-process delays and ensures consistency with other materials being produced concurrently.
A Process for the Modern A4 Folded Brochure Front Cover
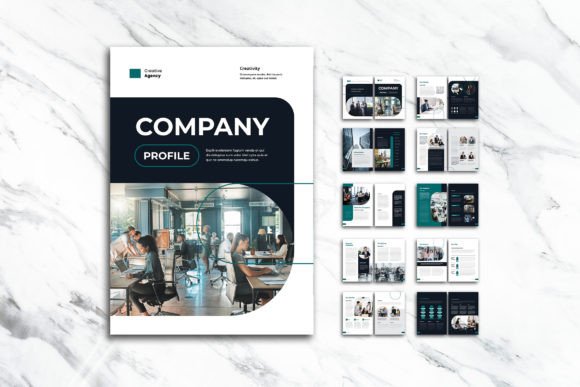
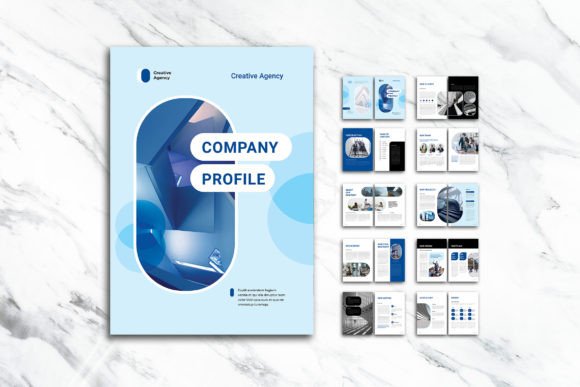
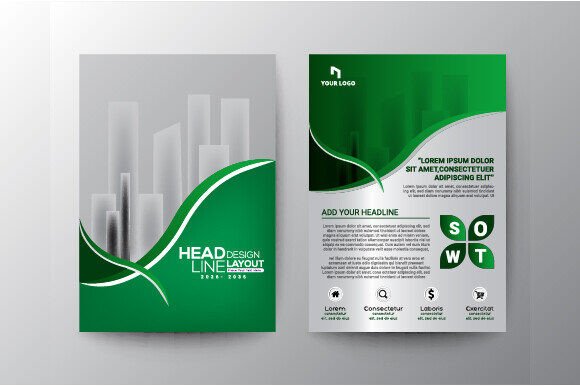
The front cover is your first and most critical point of interaction. Its design process should begin with a clear objective: to stop and engage. In a practical workflow, start with the visual anchor. This could be a bold, high-quality photograph, a minimalist abstract design, or a striking typographic treatment. The key is to select an image that aligns perfectly with your core message and brand identity.
Next, integrate your logo. Positioning it at the top is a standard and effective practice, as it establishes brand ownership immediately without competing with the central visual. The middle section of the cover should carry your key message or tagline. Use a large, legible font. This is not merely an aesthetic choice but a usability one; the font must be readable at a glance, often from a distance. Finally, the bottom section can house essential contact details, but keep them minimal—perhaps just a website or a central phone number. The cover’s workflow is about layered composition: establishing visual priority so that the viewer’s eye moves naturally from brand identifier, to core message, to a subtle prompt for further action.
Inside Panels: Structuring Content for Readability and Flow
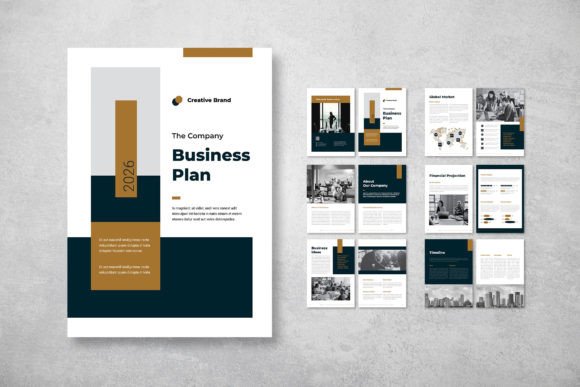
Once the cover captures attention, the inside panels must deliver information effectively. This part of the process is deeply connected to content organization and user experience. A common and practical approach is to use a 2 or 3-column grid for text. This layout breaks long copy into manageable chunks, improving readability.
Integration with other assets is vital here. Incorporate supporting images, infographics, icons, or charts to visually explain concepts and break up text blocks. Every visual should serve a purpose, either to illustrate a point or to guide the reader through the narrative. Consistency in color usage is a major factor in quality control. Use the colors from your brand palette and the front cover throughout the inside panels. This creates a cohesive experience and reinforces brand recognition. This stage of the workflow is where preparation pays off; having all text finalized and images ready allows you to focus on layout harmony rather than content scrambling.
The Back Cover: Simplicity and Functional Closure
The design process for the back cover is often underestimated. Its role is to provide a clean, functional end to the reader’s journey. A simple layout is best. It typically includes full contact information—address, phone, email, social media handles—and a repeated or scaled-down version of your logo. This repetition aids in brand recall.
Depending on your broader campaign goals, this space can also host a final call to action. Phrases like “Visit us online for more details” or “Call now to schedule a consultation” provide a clear next step. In terms of workflow integration, the back cover design is usually finalized after the inside content is locked, as it has no narrative dependencies. Its design should mirror the cleanliness and professional tone of the front, completing the piece without introducing new visual complexity.
Extending the Process to A4 Posters and Flyers
The same fundamental design process and principles apply when creating a modern poster or single-page flyer in A4 size. The workflow shifts slightly because you have one contiguous space instead of folded panels. The layout must convey the entire message in one glance. Start with a dominant visual and headline at the top, followed by body text organized in clear sections, and conclude with contact details and a call to action at the bottom.
For these formats, the integration of typography and imagery is even more critical. Use font sizes to create a stark hierarchy: a large title, medium-sized body text, and smaller details. Whitespace becomes a crucial tool for organization; ample spacing around elements prevents the design from feeling cluttered and enhances usability. The efficiency of your process here depends on having a very concise copy and a pre-selected, powerful image, as there is less room for expansive storytelling.
Practical Implementation Tips for a Smooth Workflow
To integrate this design approach smoothly into your own routine, consider these execution-focused tips.
First, always begin with a grid. Using a column grid in your design software (like Adobe InDesign, Canva, or Affinity Publisher) from the start ensures structural consistency and speeds up the alignment of all elements. Second, create a master asset folder. Place all logos, fonts, images, and color swatches there before starting. This prevents time wasted searching for files and maintains version control.
Third, build in stages. Complete the front cover first to establish the visual tone, then move to the inside layout, and finish with the back. This staged approach makes the project manageable and allows for iterative feedback. Fourth, consider print compatibility early. Ensure your color mode is CMYK, resolutions are high (300 DPI for images), and you understand any folding requirements for brochures. Checking these factors mid-process can cause costly revisions.
Finally, seek feedback within your team or from a colleague before finalizing. A fresh perspective can catch layout issues or unclear messaging that you might miss after deep focus. This step is a simple but effective quality control mechanism integrated into the workflow.
Long-Term Use and Consistency Across Projects
For professionals and businesses that produce brochures and posters regularly, this process offers a foundation for long-term consistency. By developing a reusable template with locked-in grids, brand color palettes, and standard font styles, you can drastically improve efficiency for future projects. The preparation phase becomes shorter, as core assets are already organized. This systematic approach also ensures that every piece you produce maintains a consistent brand identity, building recognition and trust over time.
In conclusion, designing a modern brochure, cover, or poster is a structured creative process that fits into broader project goals. By focusing on workflow—from preparation and asset integration through to staged layout construction and print compatibility—you can create pieces that are not only visually modern but also highly functional and effective in their real-world use.